Sound System Volume vs Sound Quality: Louder Is Not the Same Thing

TLDR

In the club sound quality vs volume debate, quality matters more. A well-maintained, properly tuned system can deliver cleaner bass, sharper rhythm and more consistent coverage without relying on punishing output. Volume still contributes to physical impact, but raising the master cannot repair muddy low end, bad speaker placement, distortion or room reflections. Clubbers should judge a room by clarity and consistency—not by whether their ears hurt afterward.

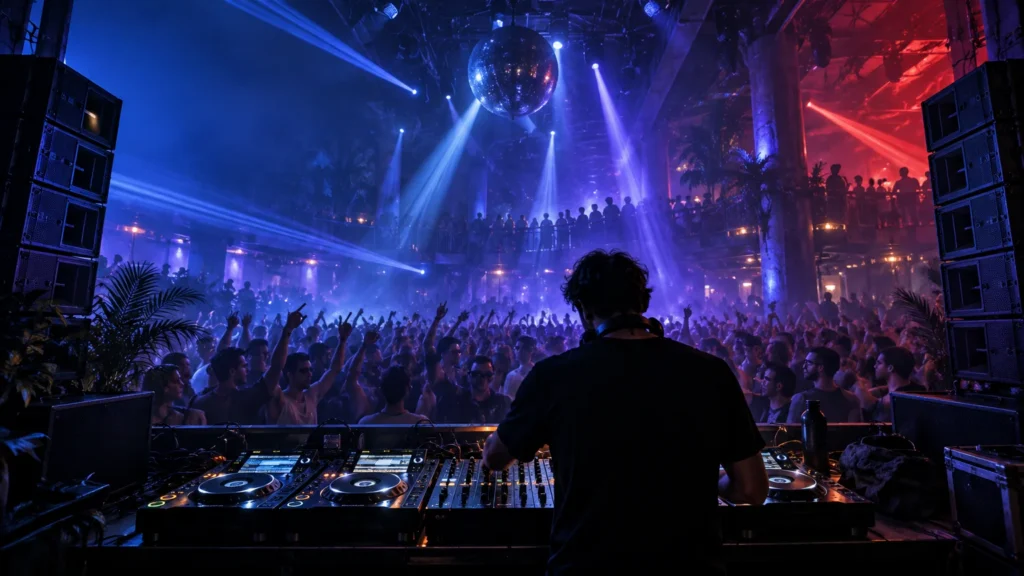
The best dance floors sound powerful without turning every hi-hat into a blade. You can follow the kick through a dense mix, feel the bass without hearing one endless rumble and move around without crossing from a dead zone into an acoustic blast furnace. That is the practical answer to club sound quality vs volume: loudness is one ingredient, while quality comes from the entire system working together.

Simply louder versus genuinely better sound

What to assess A system that is simply louder A system that sounds better
Bass Boomy or dominated by a narrow range of notes Defined enough to separate the kick, bass line and low-frequency effects
Mids and highs Vocals, synths and percussion become sharp or congested Important musical details remain clear without sounding abrasive
Dance-floor coverage Punishing near a speaker but weak elsewhere Relatively consistent as listeners move around the intended coverage area
Headroom Frequently pushed toward clipping or audible strain Has capacity for musical peaks without obvious breakup
Room response Reflections and resonances become more noticeable as level rises Placement, processing and acoustic decisions manage the room's problem areas
Listener experience Fatigue, discomfort and pressure become the main impression Scale, groove and definition remain the focus
Exposure management Output is treated as the only measure of energy Levels are monitored alongside protection, recovery spaces and event duration

A nightclub does not need to sound polite. Electronic music is built around contrast, pressure and low-frequency movement. The goal is not to drain that physical dimension from the room. It is to produce it deliberately, rather than confusing pain with excitement.

What makes club sound feel powerful?

Controlled low end

Powerful bass is not just “more bass.” Kick drums and bass lines often occupy overlapping territory, and a good system lets their attacks, bodies and rhythms remain recognizable. When the room or system exaggerates a narrow low-frequency band, different bass notes can collapse into the same booming tone. Turning that problem up only produces louder mud.

Speaker location, crossover choices, timing, equalization and the room itself all affect what reaches the crowd. Technical guidance from Shure likewise treats placement, room acoustics, frequency response, equalization and gain as interacting parts of system performance—not problems that added gain can solve by itself.

Clear mids and highs

The midrange carries much of a track's identity: vocal hooks, synth character, percussion and the attack that tells the body where the beat lands. High frequencies supply air and detail, but excessive peaks can make claps, snares and hi-hats exhausting. A balanced system preserves those cues without letting them dominate the night.

Clarity also changes perceived energy. If the transient edge of a kick cuts through and the bass stops when it should, the groove can feel more immediate even when the measured level has not increased.

Even dance-floor coverage

Coverage means getting useful sound to the intended listening area. In clubber-friendly terms, the mix should not disappear when you move a few steps or become brutally bright beside one speaker. Some variation is unavoidable, especially in irregular rooms, but severe hot spots and dead zones indicate that raw output is not reaching the floor evenly.

Placement and alignment matter because sound from different loudspeakers can arrive at different times and interact constructively or destructively. Walls, ceilings, balconies and hard surfaces add reflections. The result can be a room where one position has overwhelming bass while another feels oddly hollow.

Headroom without obvious distortion

Headroom is the system's breathing space. A track can have short peaks that rise above its average level, and the equipment needs enough capacity to reproduce them cleanly. When amplifiers, processors or loudspeakers are pushed beyond comfortable operation, those peaks can flatten or break up. The room may get harsher without gaining the scale the operator wanted.

Gain staging is how level is managed through the signal chain—from the DJ mixer through processing and amplification. One overloaded stage can create distortion that later volume controls cannot undo. That is why a red-lined DJ mixer feeding a turned-down system is not equivalent to a clean signal feeding a properly managed system.

Why raising the master often fails

The master control amplifies the existing result, including its faults. It can make a room resonance boom harder, increase the severity of a speaker hot spot or expose distortion from an overloaded signal path. It cannot replace a failed driver, correct poor alignment or make an untreated reflective room disappear.

There is a revealing real-world example from the UK Health and Safety Executive. In one nightclub case study, work included replacing bass drivers, equalizing the system, servicing amplifiers and resetting a limiter. HSE reported a 7 dB reduction in music noise, yet patrons reportedly perceived the music as louder because the bass had become clearer. This is one older case at one venue, not a universal promise, but it neatly illustrates how definition can produce more perceived impact than indiscriminate level. Read the HSE nightclub sound-system case study

Before reaching for more output, a venue should therefore ask a sequence of less glamorous questions: Are all drivers working? Is the incoming signal clean? Are crossover, delay and equalization settings still appropriate? Is a limiter configured correctly? Has furniture, staging or room use changed? Where are the loudest and weakest positions? Maintenance and measurement may not look dramatic from the booth, but they shape everything the crowd hears.

Sound quality does not cancel exposure risk

Clean sound can be deceptive. Because it lacks obvious breakup and harshness, a high-quality system may feel easier to tolerate even while operating at a level that warrants exposure controls. “It sounded good” and “the exposure was low-risk” are not interchangeable conclusions.

The WHO Global Standard for Safe Listening Venues and Events recommends a maximum average sound level of 100 dB(A) measured over 15 minutes. That recommendation sits inside a broader framework that includes live monitoring and recording, optimized acoustics and sound systems, hearing protection, quieter zones and staff training. It is a risk-reduction benchmark, not a guarantee of zero risk, an ideal target for every event or a universal legal limit. Venues must also follow the requirements that apply in their jurisdiction.

CDC and NIOSH identify bars and nightclubs as environments where levels can be around 95 dBA or higher. Warning signs of potentially hazardous exposure include needing to shout to be heard at close range, ringing in the ears and muffled hearing afterward.

A phone app may offer a rough indication of changing conditions, but clubbers should not treat a consumer-phone reading as a compliance verdict. Microphone hardware, calibration, placement and measurement method all matter. NIOSH describes its own Sound Level Meter app as a measurement aid; professional venue decisions call for appropriate calibrated equipment and competent operators.

A practical sound check for clubbers

You do not need to be a system engineer to recognize a room that is being run thoughtfully. Use the first part of the night to listen and move around rather than accepting the loudest spot as the default.

  • Listen for separation. Can you distinguish the kick drum from the bass line, or does every low-frequency element become one sustained rumble?
  • Check more than one position. Move laterally and farther from the stacks. Major changes can reveal hot spots, dead zones or uneven low end.
  • Notice harshness. Cymbals, claps and vocals should not become painful every time a track gets busy.
  • Protect your ears. Carry properly fitting earplugs and insert them before discomfort begins, not after ringing starts.
  • Take a recovery break. Use a genuinely quieter area when one is available; standing at the back is not necessarily quieter if another speaker covers it.
  • Leave a painful position. Do not remain directly in front of a stack to prove that you can handle it. Moving away is a sound decision, not a failure of dance-floor commitment.

Persistent or concerning ringing, pain, dizziness, or hearing changes deserve qualified medical advice. An article or sound-meter app cannot assess an individual hearing injury.

What venues, promoters and DJs should do first

The operational priority is straightforward: improve the signal, system and room before increasing level. A compact pre-event workflow looks like this:

  1. Inspect the system. Confirm that drivers, amplifiers, cables and processing are functioning as intended.
  2. Start with a clean signal. Set sensible mixer and processor levels so no stage is clipping before the main output is adjusted.
  3. Tune for the room. Review crossover points, alignment, delay and equalization with suitable tools and qualified personnel.
  4. Walk the audience area. Check the front, center, sides, rear and any balcony rather than judging everything from the booth.
  5. Monitor throughout the event. Use appropriate calibrated equipment, document readings where required and account for event duration.
  6. Manage the crowd experience. Make hearing protection accessible, identify quieter recovery spaces and train relevant staff to respond to sound concerns.
  7. Follow local requirements. Treat international guidance as a framework, while checking the laws, licence conditions and workplace obligations that govern the venue.

DJs have a role too. Sending a clipped mixer output to the house engineer limits what the system can reproduce cleanly. Channel gain, EQ and master level should preserve a usable signal rather than pinning every meter. The venue team, meanwhile, should communicate the operating range clearly instead of forcing the DJ and engineer into a volume contest.

The final test is impact without punishment

A serious club system should make music feel larger than headphones can: bass moves through the body, transients establish the groove and the room reacts as one. None of that requires turning pain, ringing ears or distorted peaks into proof of authenticity.

For your next night out, judge the room during one dense track and one sparse track. Listen for defined bass, intelligible musical detail and consistent coverage as you move. If you help run the venue, schedule maintenance and a measured floor walk before authorizing more master level. And when planning the rest of the night, pair those listening choices with a safe journey home from the club. The winning side of club sound quality vs volume is not quietness for its own sake; it is controlled, monitored sound that delivers physical impact without using unnecessary pain as a special effect.

References

  1. service.shure.com
  2. www.shure.com
  3. Nightclub – maintenance of sound system – HSE
  4. WHO global standard for safe listening venues and events
  5. WHO releases new standard to tackle rising threat of hearing loss
  6. Safe Listening at Venues and Events with Amplified Music — United States, 2022 | MMWR
  7. Noise-Induced Hearing Loss | Noise and Hearing Loss | CDC
  8. Sound Level Meter App | Noise and Hearing Loss | CDC

How to Leave a Club Safely When Transportation Options Are Thin

TLDR

Nightclub transportation safety planning should begin before doors open, not when the final track drops. Establish one clearly marked pickup point and an overflow location, separate waiting guests from moving vehicles, protect emergency access, assign closing-time staff posts, and publish realistic ride-home options before the event. Guests should decide on a sober ride in advance, verify app-based rides before entering, wear a seat belt, and never use a bicycle or scooter as an impaired fallback.

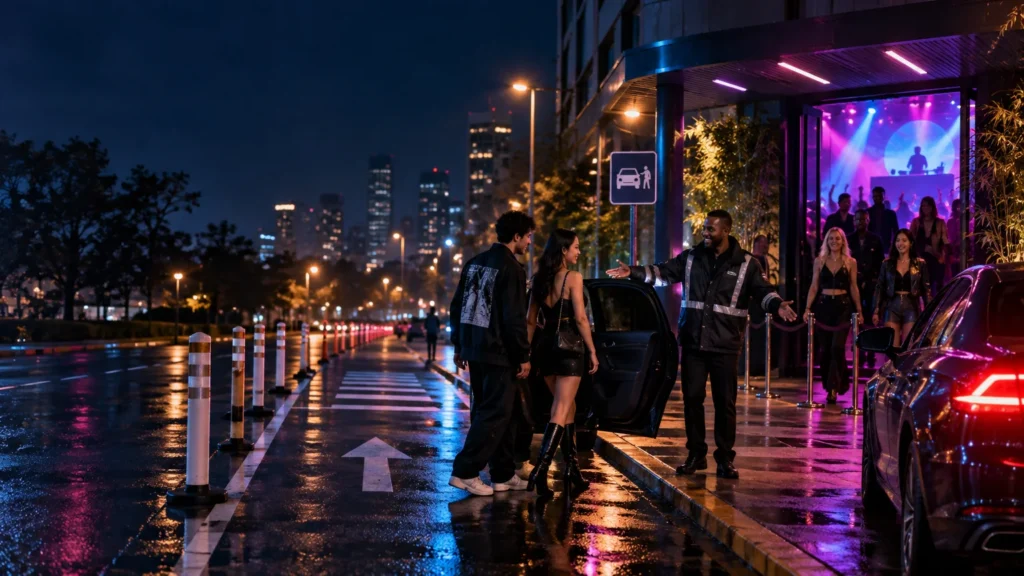
The last 30 minutes of a club night are an operational peak. Hundreds of people may reach the sidewalk as rideshare cars, taxis, private vehicles, pedestrians, and late-night traffic converge around one curb. When transportation is limited, the safest answer is not a vague closing announcement telling everyone to “get home safe.” The venue needs to treat the journey home as part of the production.

For operators and promoters, that means building a closing-time system with five goals: offer sober transportation information early, create a findable waiting and pickup location, separate pedestrians from vehicles, keep emergency access clear, and give staff an escalation process. Seattle’s Nightlife Establishment Handbook similarly calls for alternative-transportation procedures, a designated cab or rideshare waiting location at closing, and accessible transportation contact information.

What nightclub transportation safety planning should include

A workable plan starts with a map, even if it is only a marked-up venue floor plan and street diagram. Plot every public exit, accessible route, transit stop, parking entrance, crosswalk, loading zone, likely rideshare queue, staff position, and route reserved for emergency responders. Then walk those paths under conditions resembling closing time: after dark, with adjacent businesses operating and normal traffic present.

Do not assume the curb immediately outside the main door is the best pickup point. It may also be the busiest pedestrian crossing, the fire department access route, or a narrow stretch where stopped cars block traffic. Federal planned-special-event guidance supports using off-street pickup and drop-off areas where possible, separating vehicle classes, reducing conflicts with pedestrian and parking flows, and leaving enough room for circulation and turnaround. Operators can consult the FHWA planned-special-event transportation guidance when developing the traffic side of the plan.

The final layout must fit local curb rules, permits, alcohol-licensing conditions, accessibility requirements, and emergency procedures. A venue should confirm those details with its property manager and relevant local agencies rather than copying another club’s arrangement.

Transportation mode Operational need Main closing-time risk Planning response
Rideshare A geofenced or clearly described pickup point with enough waiting space Drivers stopping unpredictably while guests search between cars Publish one primary zone, create an overflow point, and station a host where pedestrian and vehicle paths meet
Taxi A legal loading location and a way to join the queue Guests stepping into traffic or entering an unverified vehicle Use a visible queue and direct guests only to the designated loading position
Private pickup or sober driver Simple directions that do not conflict with rideshare traffic Double-parking and repeated loops past the entrance Assign a separate meeting point or timed waiting area where feasible
Shuttle A loading schedule, boarding queue, and turnaround route Crowding, blocked circulation, and missed departures Post the last departure clearly and keep the loading area free of unrelated vehicles
Transit or walking A well-lit route to an operating stop or safer pedestrian corridor Guests following an assumed route after service has ended Verify current service before publishing it and give clear walking directions
Accessible pickup A step-free waiting area and usable vehicle approach The designated zone being blocked, distant, or physically inaccessible Protect the accessible route, provide contact information, and assign staff assistance without separating the guest from companions unnecessarily

Design the pickup zone for people, not app pins

An app pin does not control traffic. A useful pickup zone needs to be visible from the exit, understandable in one sentence, and reachable without sending guests through a stream of moving cars. Lighting should make people and vehicles easy to identify, while signs should use large, direct language such as “Rideshare pickup: turn right, half a block” rather than internal venue terminology.

Where space allows, use one-way vehicle circulation so drivers are not making three-point turns among waiting guests. Keep the pedestrian queue behind a physical curb, barrier, or clearly enforced boundary. Protect crosswalks, doorways, accessible routes, and fire access from parked or idling vehicles. CISA guidance emphasizes separating pedestrians from vehicle traffic, protecting chokepoints such as rideshare locations, preserving first-responder access, and communicating access and egress routes clearly.

Build an overflow trigger into the plan. For example, when the primary waiting area reaches its safe capacity or vehicle traffic begins blocking an intersection, a manager can open the secondary pickup location and update staff announcements. The exact trigger should reflect the site rather than an invented universal crowd number.

Thin transportation options also require a backup for guests without a working smartphone, battery power, data service, app account, or immediate access to an appropriate vehicle. Keep current taxi or transportation contact information at the host stand, identify somewhere safer to wait, and decide who can help a guest make a call. Do not advertise transit, a shuttle, or an accessible vehicle service unless its hours and availability have been checked for that event.

Give every closing-time staff member a defined role

Transportation safety fails when everyone assumes security is handling it. The plan should divide responsibilities across the team and identify one manager with authority to change the curb operation.

  • Door and security staff: keep exits open, prevent the sidewalk from becoming an uncontrolled queue, watch pedestrian-vehicle conflict points, and preserve the emergency lane.
  • Manager on duty: activate the closing plan, decide when to open overflow space, contact transportation providers or local authorities when appropriate, and document significant incidents.
  • Bar staff: communicate last-call and closing information consistently, flag guests who may need assistance, and refer the situation to the designated manager rather than improvising transportation.
  • Guest-assistance host or runner: direct guests to pickup and transit points, help with a phone call or charging option if available, and keep vulnerable or isolated guests connected with their group.
  • Communications lead or DJ liaison: place ride-home information on ticket pages and social posts, update screens or signs, and deliver concise announcements without drowning them in end-of-night hype.

Staff should know what not to do as well. They should not send an obviously vulnerable guest into an unknown car, encourage an impaired person to walk alone, promise that an unverified service is operating, or allow a transportation queue to obstruct an emergency exit. NYC nightlife safety guidance encourages partygoers to make travel plans, stay connected, use licensed taxis, and avoid walking alone.

Run the plan across the full event cycle

Before the event

  • Confirm the primary and overflow pickup locations with the venue team and property manager.
  • Check local curb restrictions, construction, road closures, parking access, and scheduled transit service.
  • Walk the accessible route from the venue exit to the waiting area.
  • Assign named staff positions and establish a radio channel or other communication method.
  • Put concise transportation directions on the ticket page, event email, social posts, and venue signage.
  • Tell guests before arrival if transportation will be unusually limited after closing.

During the event

  • Keep transportation information visible instead of revealing it only at closing.
  • Monitor weather, street congestion, service disruptions, and changes around the designated zone.
  • Check that vehicles, smokers, or equipment have not blocked the accessible route or emergency access.
  • Remind staff who makes decisions if the primary pickup area becomes unusable.

At closing

  • Post staff before the largest exit wave begins.
  • Use repeated, specific announcements naming the direction and landmark for each pickup area.
  • Separate people waiting for rides from people crossing toward parking or transit.
  • Move conversations and fare disputes away from vehicle circulation and exit doors.
  • Keep the manager reachable for guests who are alone, severely impaired, distressed, or unable to arrange transportation.

After the event

  • Log blocked lanes, near misses, crowding points, accessibility problems, guest complaints, and service gaps.
  • Ask staff which directions guests misunderstood and where drivers stopped unexpectedly.
  • Revise the map, staffing positions, signs, and announcements before the next high-volume night.
  • Share recurring street or curb problems with the property manager or appropriate local agency.

The guest safe-ride checklist

Guests still control several important decisions. NHTSA and CDC recommend planning a sober ride before drinking or using other impairing substances, with options including a sober designated driver, public transportation, taxi, or ride-hailing service. When options are thin, make that decision earlier in the night rather than waiting until phones are low and closing demand is high.

  1. Choose the ride home before becoming impaired, and confirm that the service will still operate at closing time.
  2. Stay with friends when possible and tell someone which pickup point you are using.
  3. Wait in the venue’s designated, well-lit area rather than standing in a traffic lane or wandering between cars.
  4. For an app-based ride, confirm the vehicle, license plate, driver name, and driver photo before entering.
  5. Ask the driver to identify the passenger they are collecting instead of volunteering your name first.
  6. Wear a seat belt, even for a short trip.
  7. Do not drive or ride with an impaired driver. Do not use a bicycle or scooter as an impaired fallback; NHTSA specifically advises against it.
  8. If your original ride falls through, return to venue staff or another safer staffed location while arranging the next option.

Know when the problem is an emergency

A transportation plan is not a medical protocol. If staff or friends suspect alcohol overdose, the National Institute on Alcohol Abuse and Alcoholism advises calling 911. Do not treat a ride home as the solution to a possible medical emergency. Follow the venue’s emergency plan, contact emergency services, preserve responder access, and have a staff member ready to direct responders to the person.

Make the exit part of the show plan

A club can program immaculate sound, lighting, and artist flow, then lose control of the experience at the curb. Good transportation planning extends the same production discipline beyond the final track: clear cues, intentional movement, visible staff, backup options, and someone empowered to make decisions.

Before the next busy night, walk the complete exit path at the expected closing hour. Mark the primary and overflow pickup points, protect the emergency lane, assign each staff post, and publish directions guests can understand before they arrive. That single rehearsal will reveal more than another generic “please get home safely” announcement ever could.

References

  1. Nightlife Establishment Handbook – Economic Development | seattle.gov
  2. Chapter 6 Page 4 – Managing Travel for Planned Special Events Handbook
  3. VEHICLE INCIDENT
  4. Nightlife Party Safety Tips – SBS
  5. Ways to Get Home Safely | NHTSA
  6. What You Can Do to Prevent Impaired Driving | Impaired Driving | CDC
  7. Understanding the Dangers of Alcohol Overdose | National Institute on Alcohol Abuse and Alcoholism (NIAAA)